Want to know how to build a latrine in the rural mountains of Haiti without roads or electricity? Let me help with my step-by-step guide. Follow it carefully and you will have a latrine (or 20) in no time at all.
Step 1:
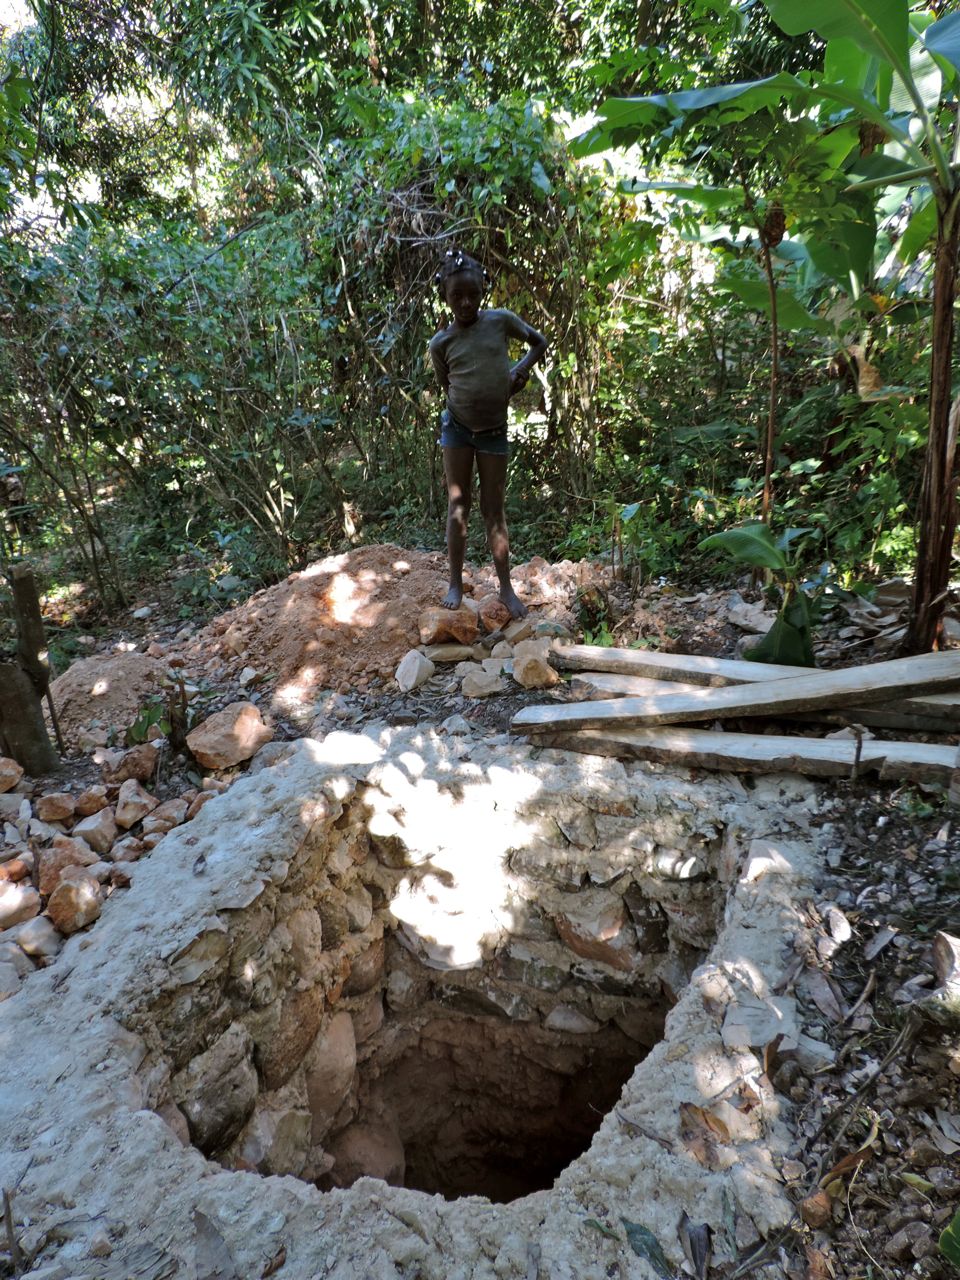
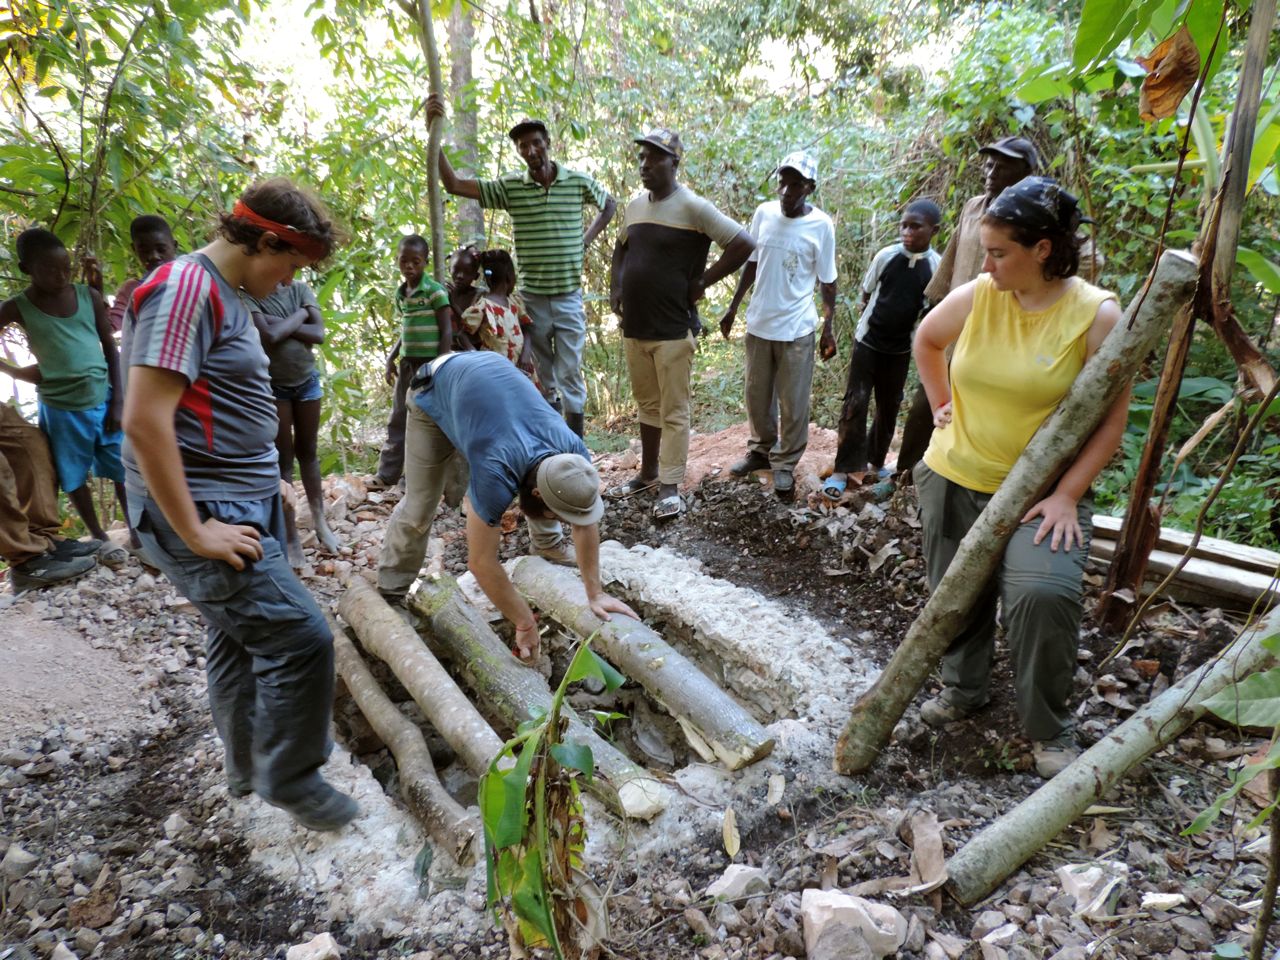
Find a hole, a deep hole. This should be easy as the Haitians dig their own latrine holes once they hear you are coming.
Step 2:
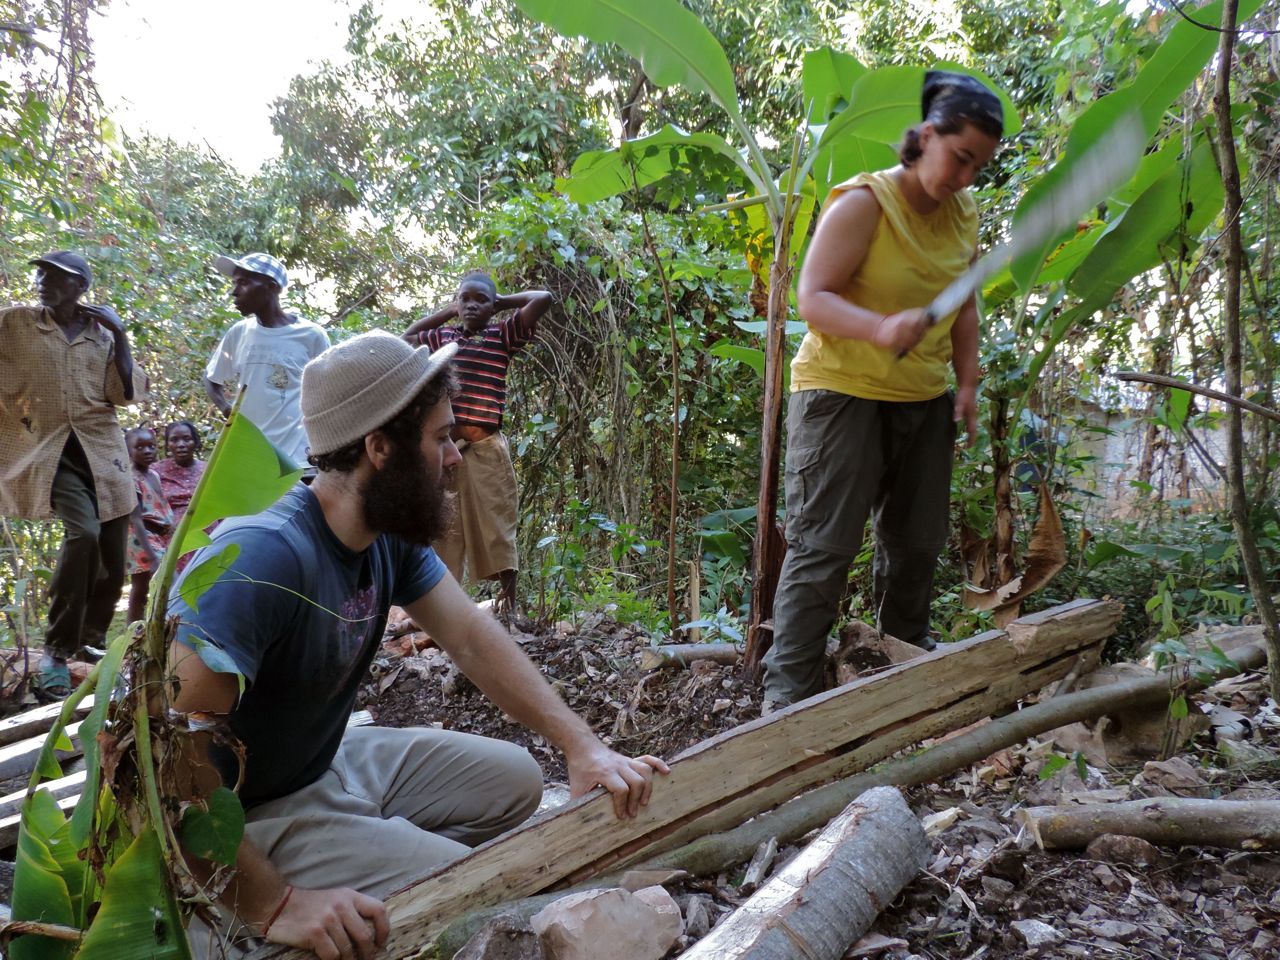
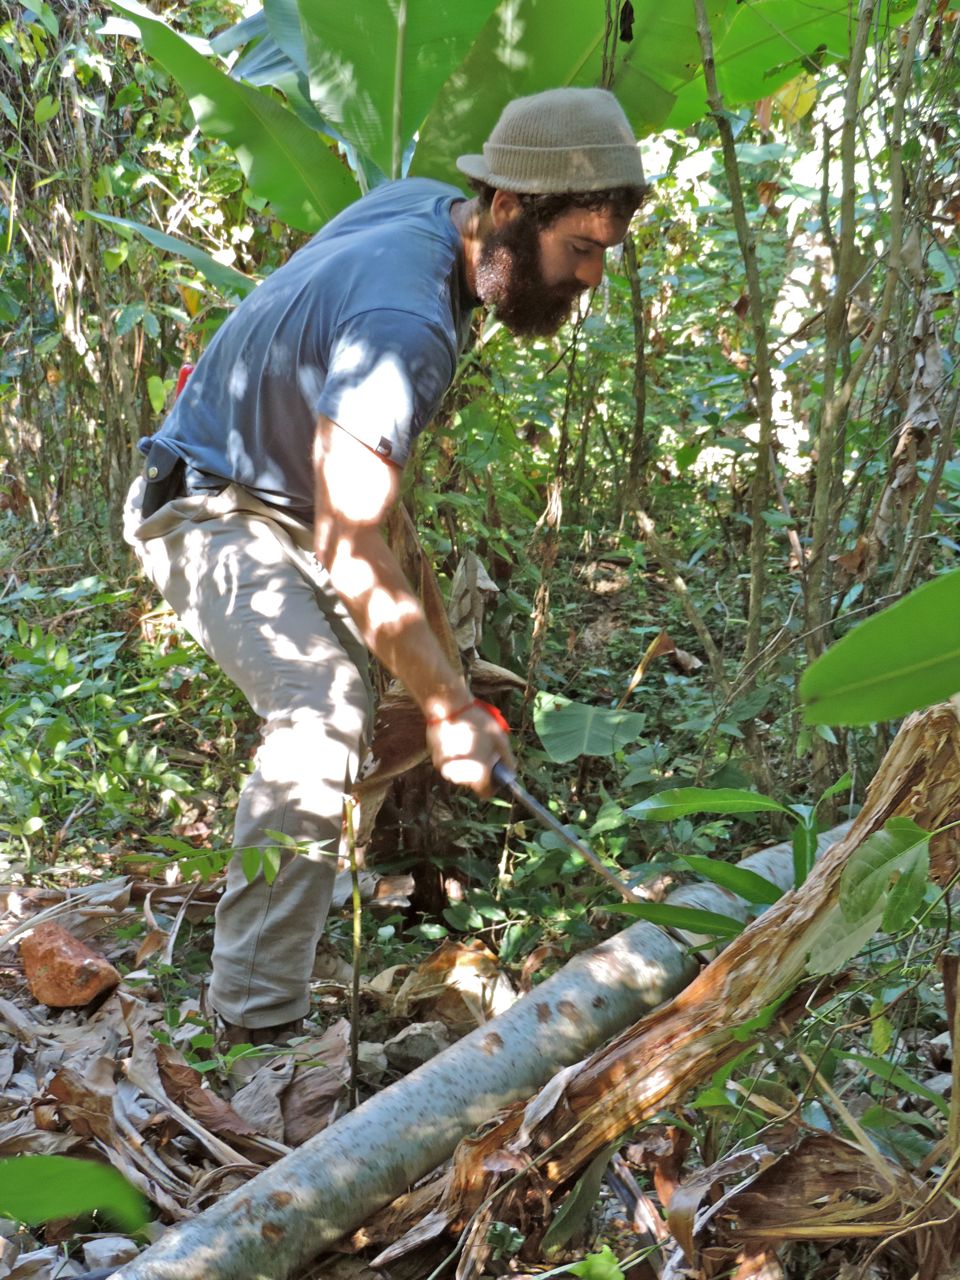
Cut some wood to cover the hole. Machete is the prefered tool for this step.
Step 3:
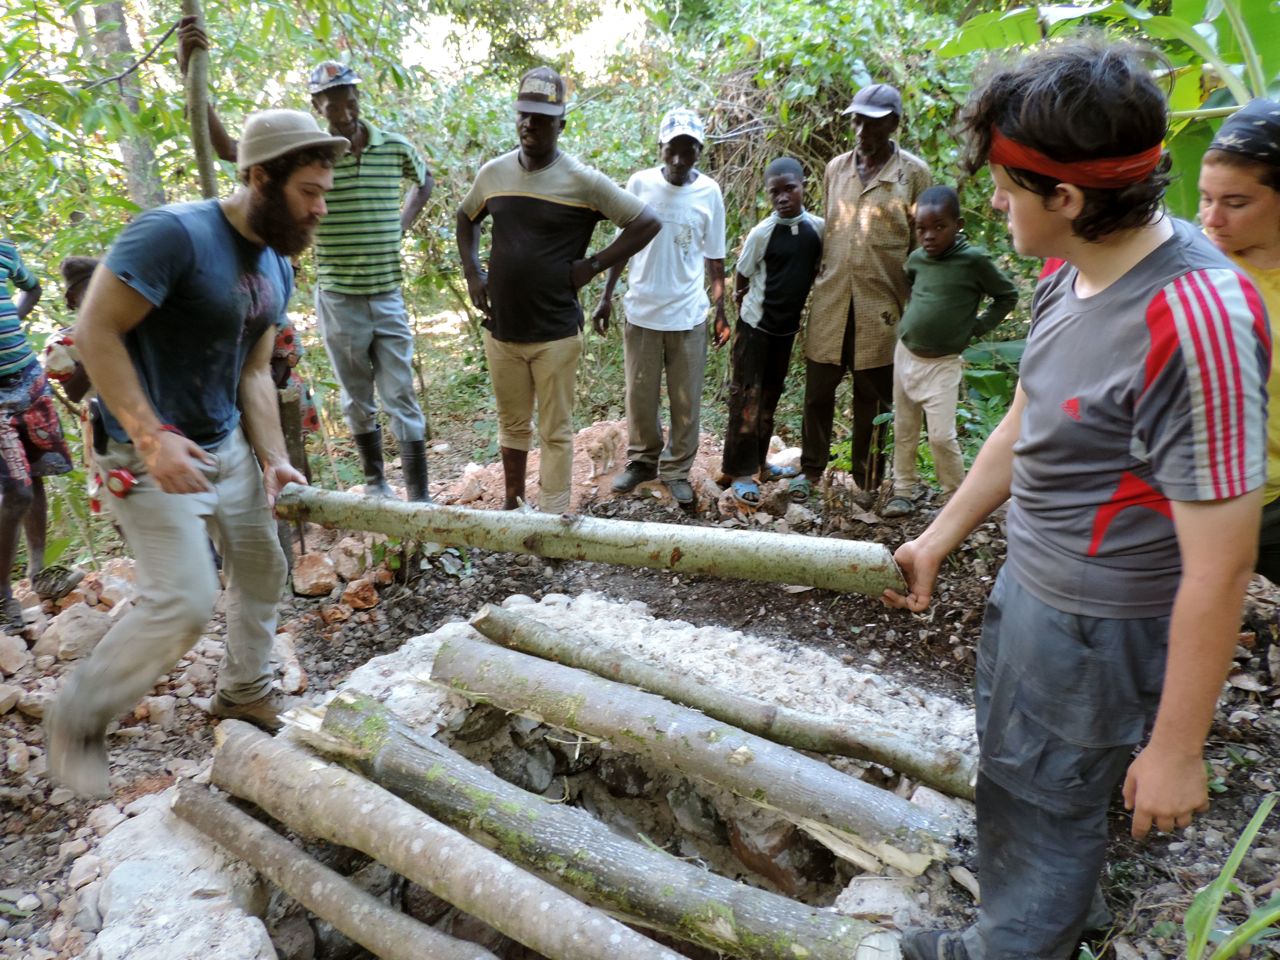
Cover the whole with the wood.
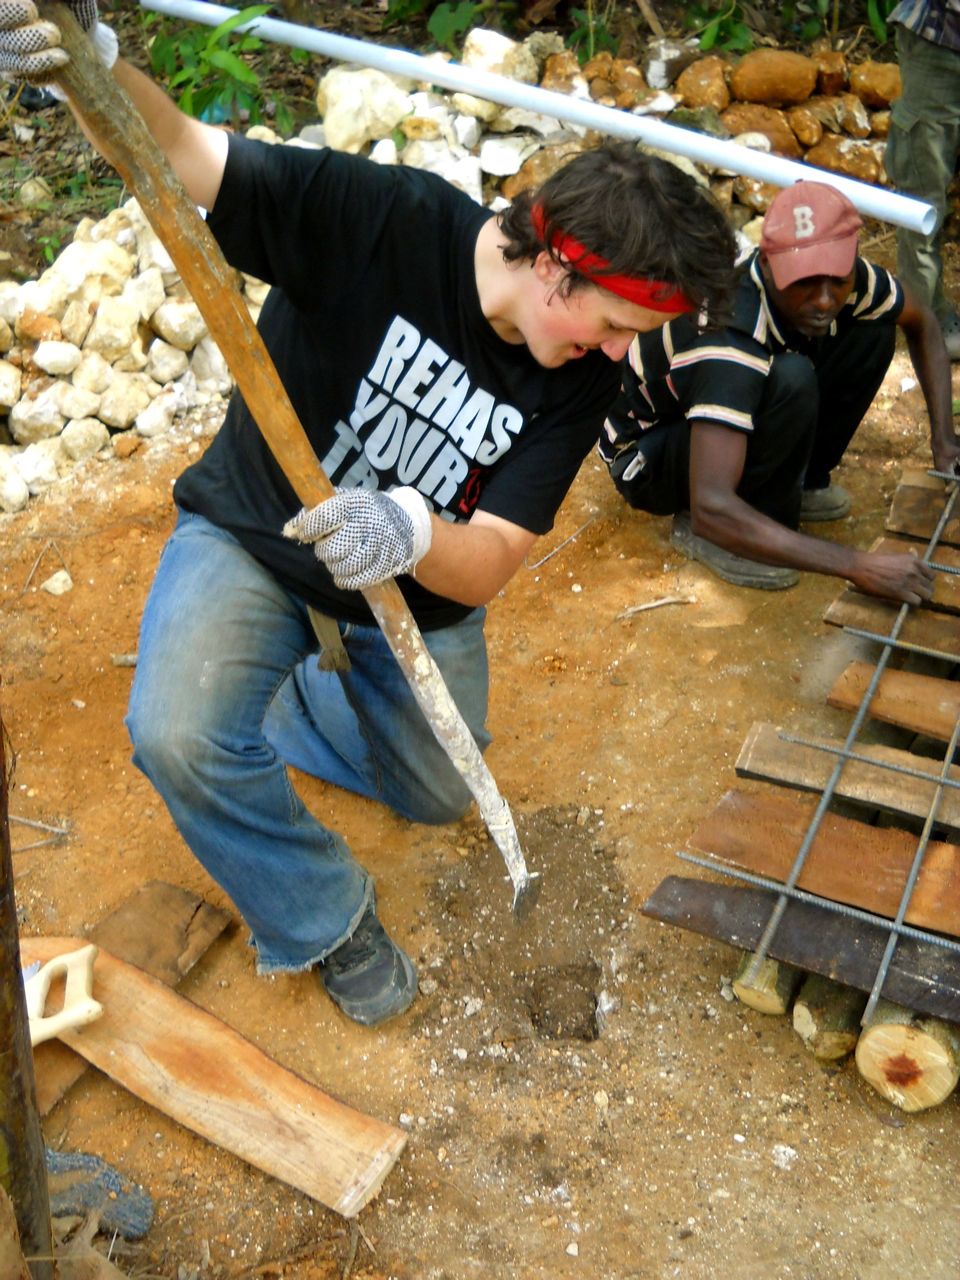
Step 4:
Make sure you leave a hole big enough. Measure twice, cut once. Or follow the Haitians lead and measure five times then ignore your measurements.
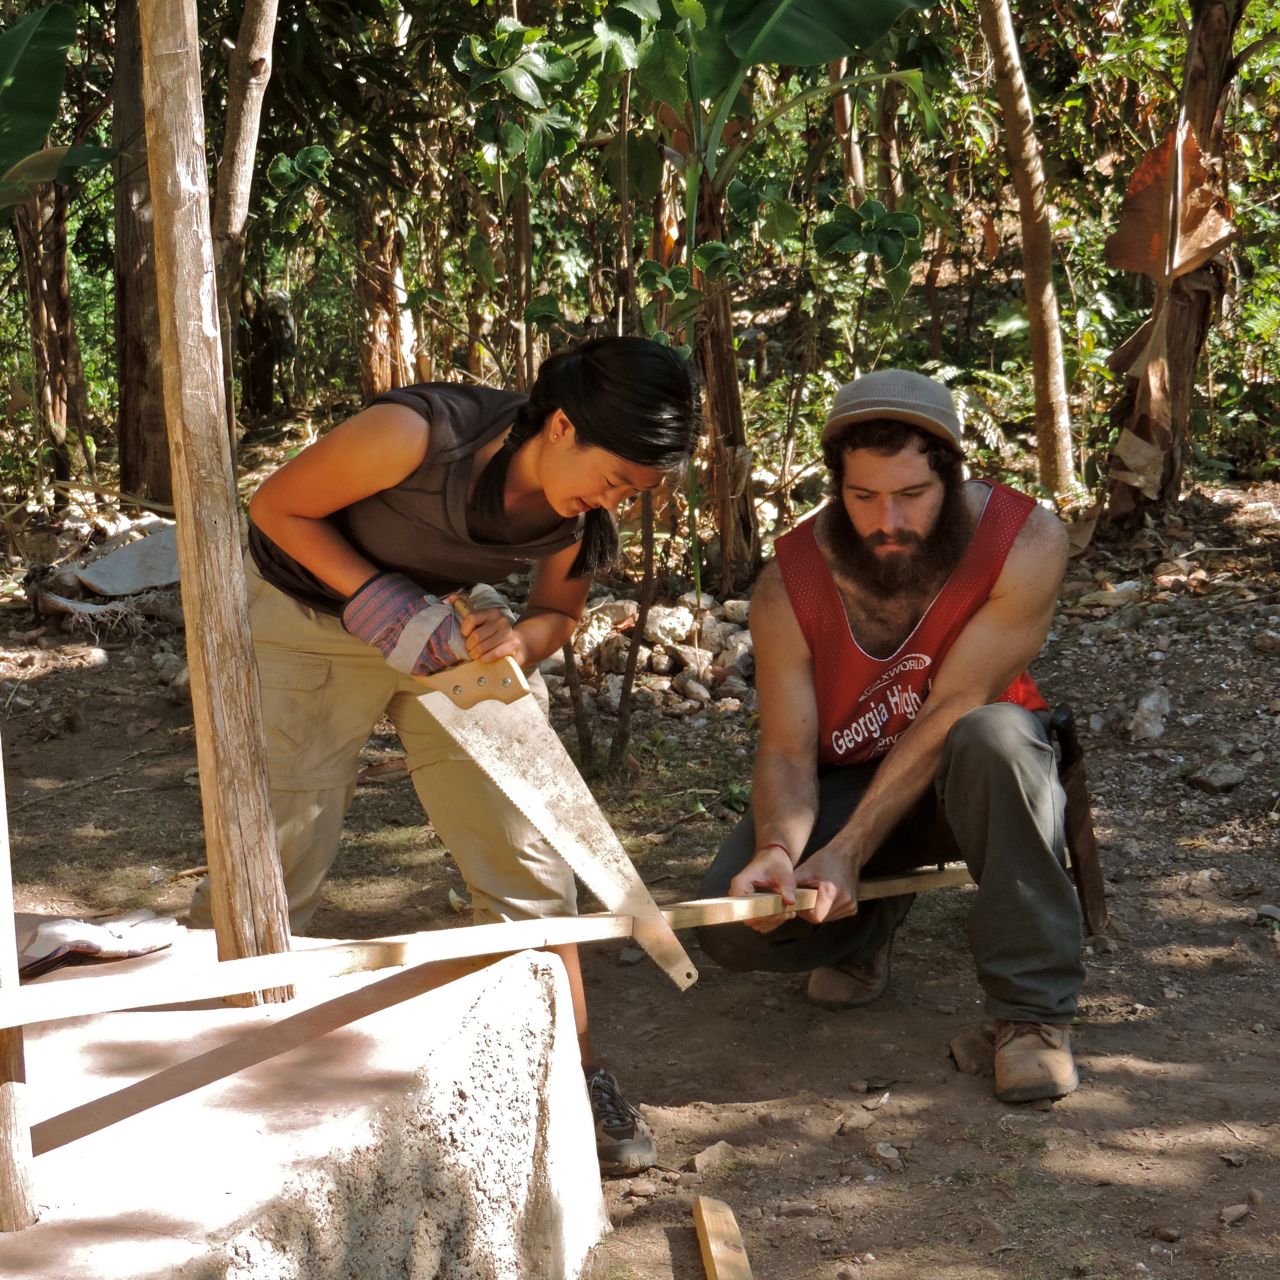
Step 5:
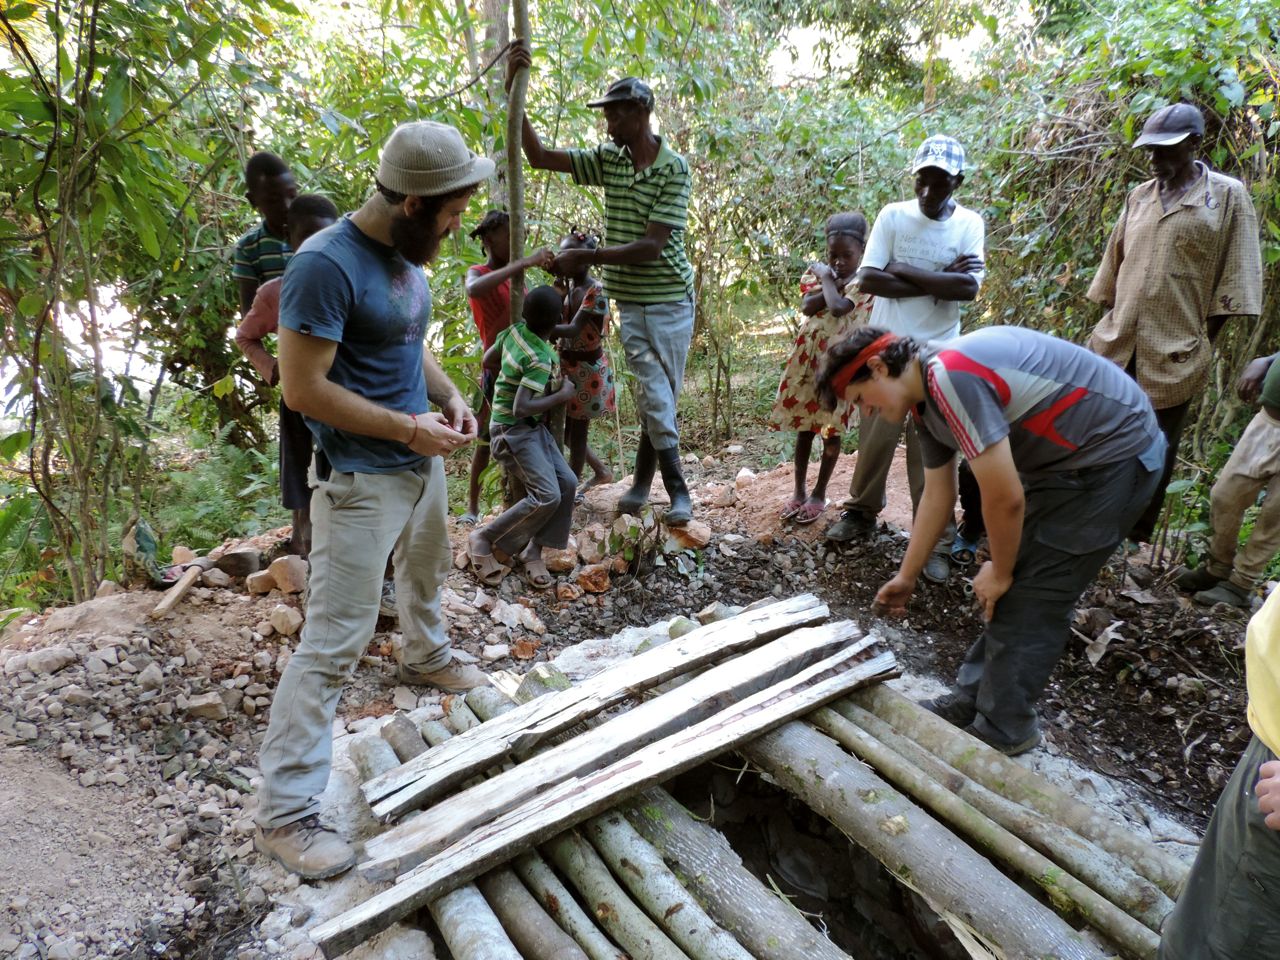
Cut more wood.
Step 6:
Cover the old wood with the new wood. Make sure it’s flat. (Note: It’s not going to be flat. You’re cutting with machetes!)
Step 7:
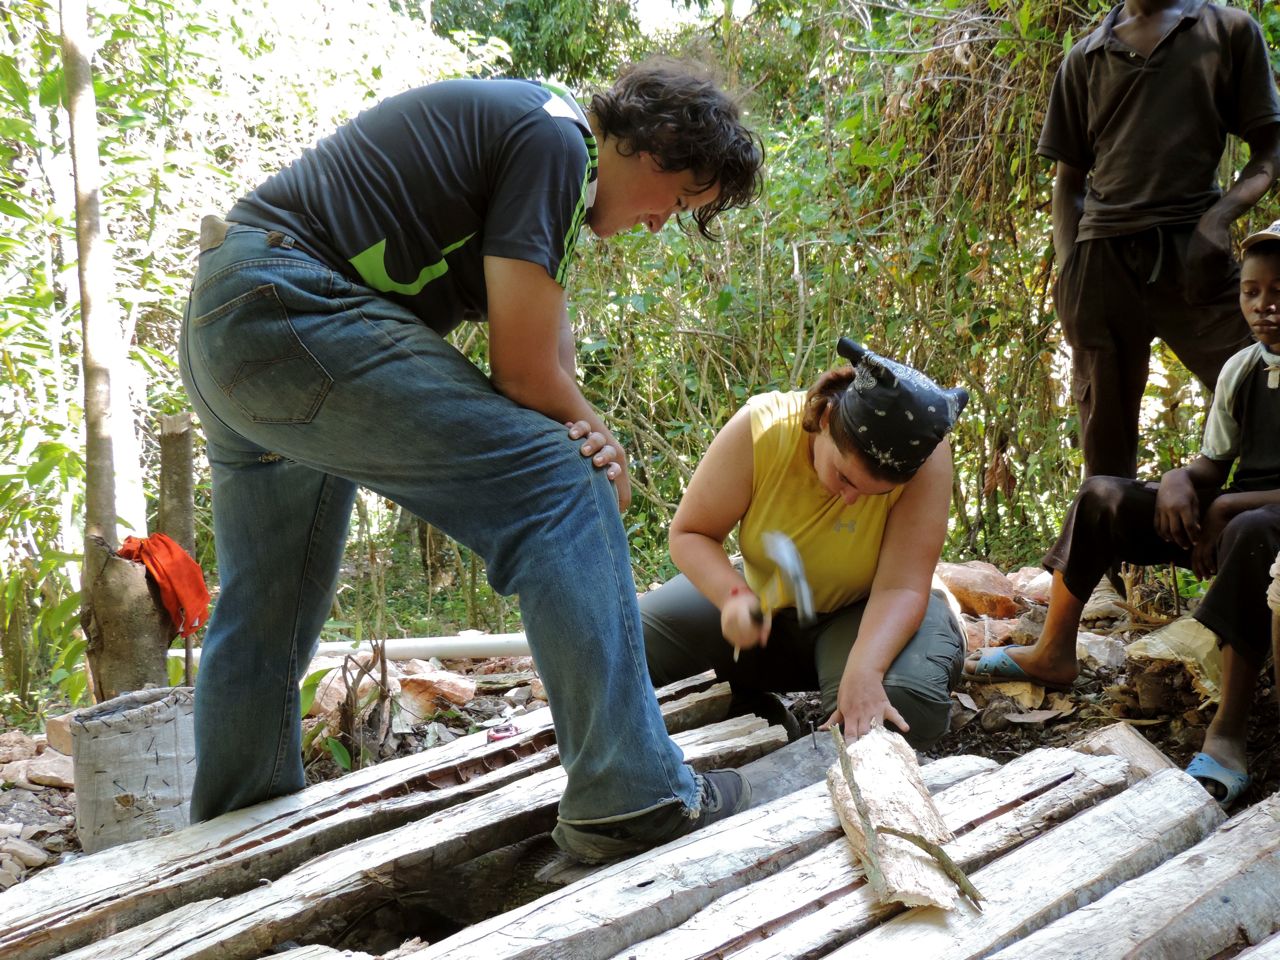
Nail both layers of wood together. (Note: in Haiti you will be using ungalvanized nails that really don’t like to cooperate. There will be dozens of dead nails when you finish.)
Step 8:
Cover the wood with a layer of rebar. Don’t forget to tie them together so the don’t roll out of place.
Step 9:
Dig four holes to place four posts in. (Don´t worry, you have not cut the posts yet. That`s next.)
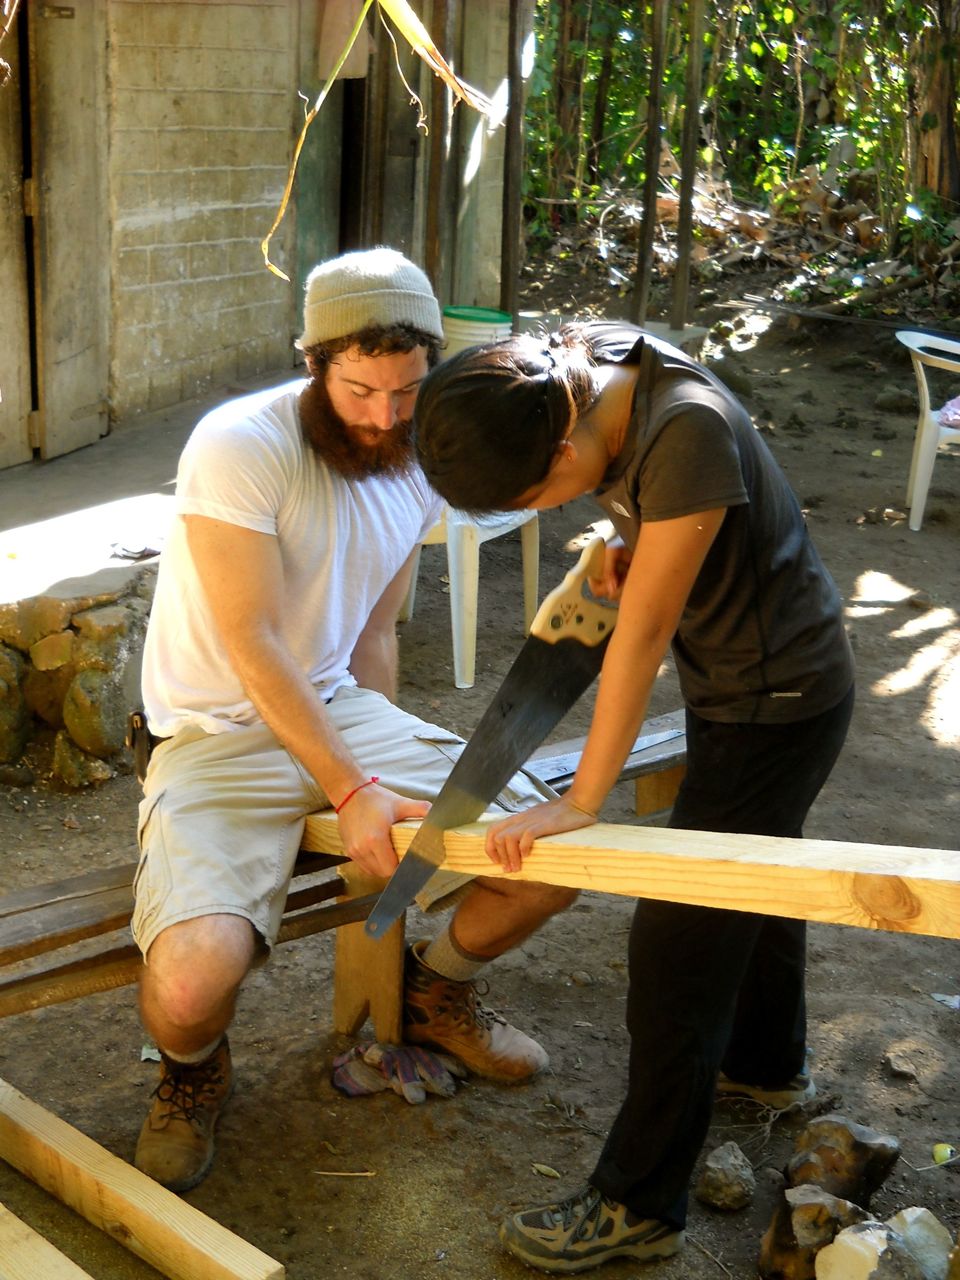
Step 10:
Saw some wood.
Step 11:
Nail the posts together after putting them in the holes. (Try hard to make it level and square, but don`t worry, it won`t be. The Haitians have the same attitude toward right angles as they have toward measuring. Close is good enough.)
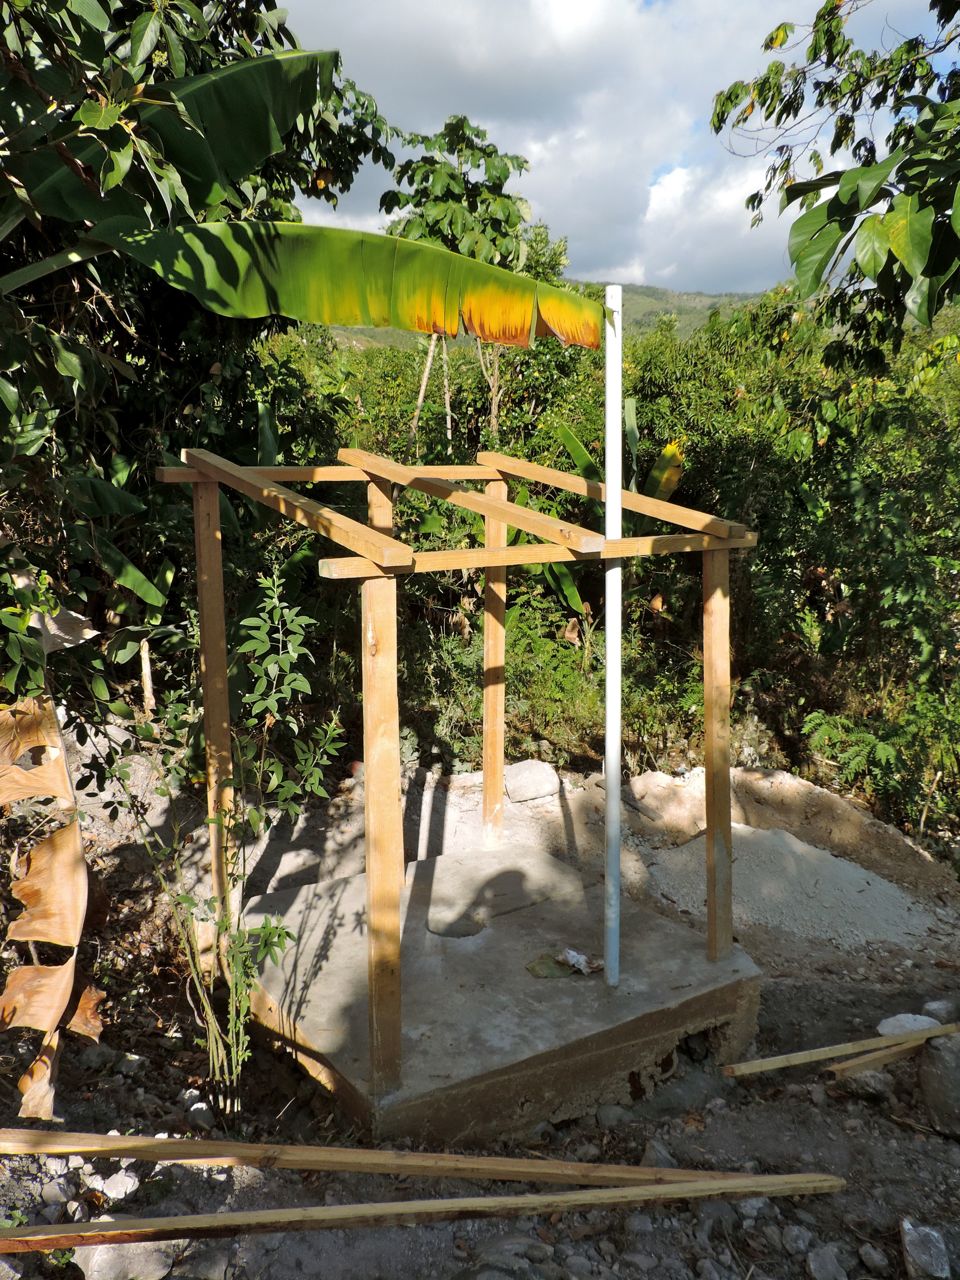
Step 12:
Admire your casita after the concrete is poured and set. (Don’t worry, this step happens without you.)
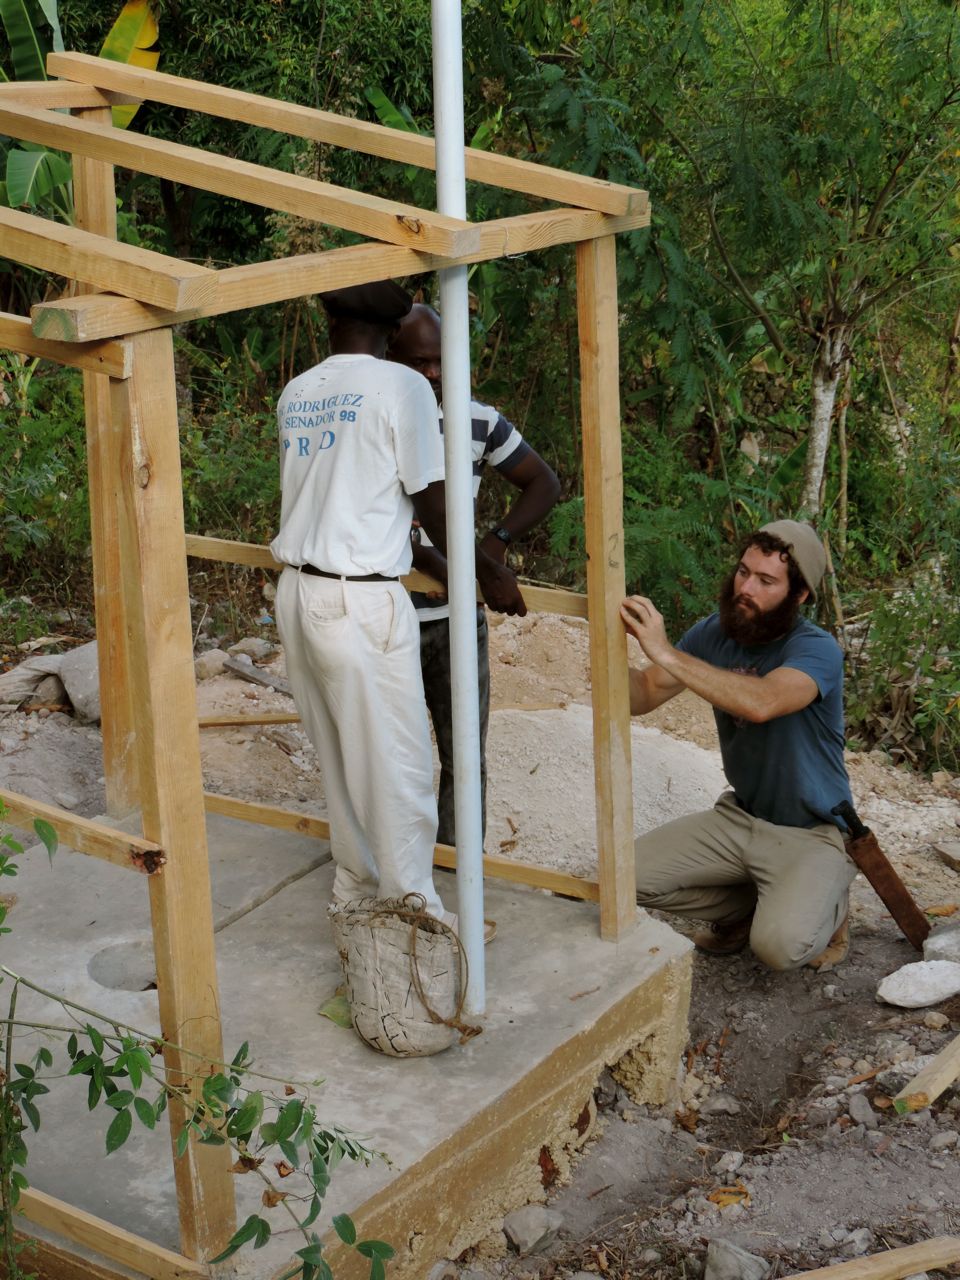
Step 13:
Add some more wood to attach the zinc to.
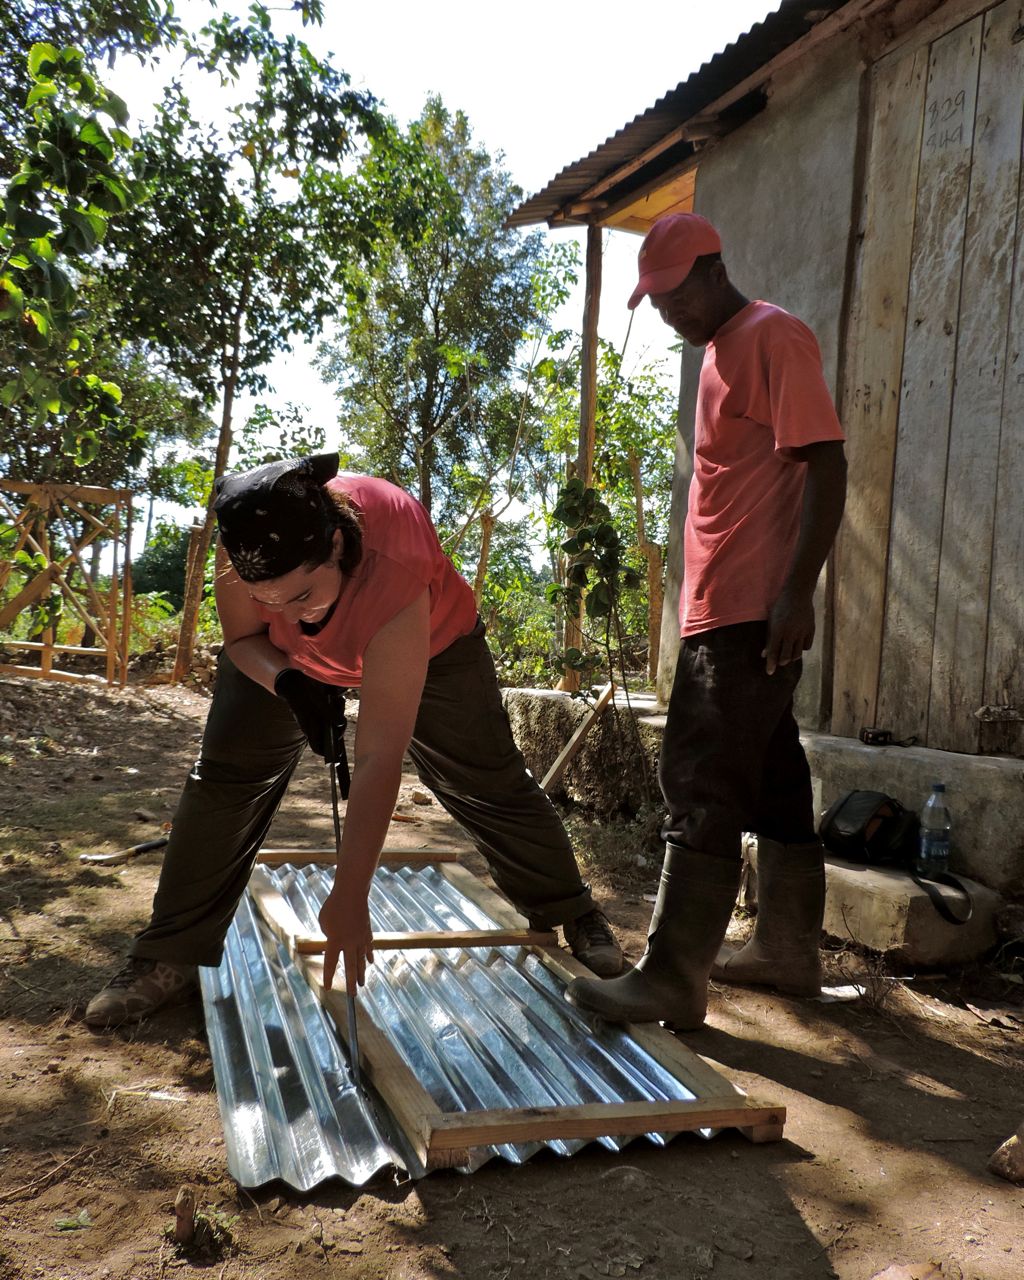
Step 14:
Nail corrugated zinc to your wood structure. (Note: this will be very loud.)
Step 15:
You`re not done yet. You still need a door. Saw more wood.
Step 16:
Nail more.
Step 17:
Cut zinc to fit your door frame.
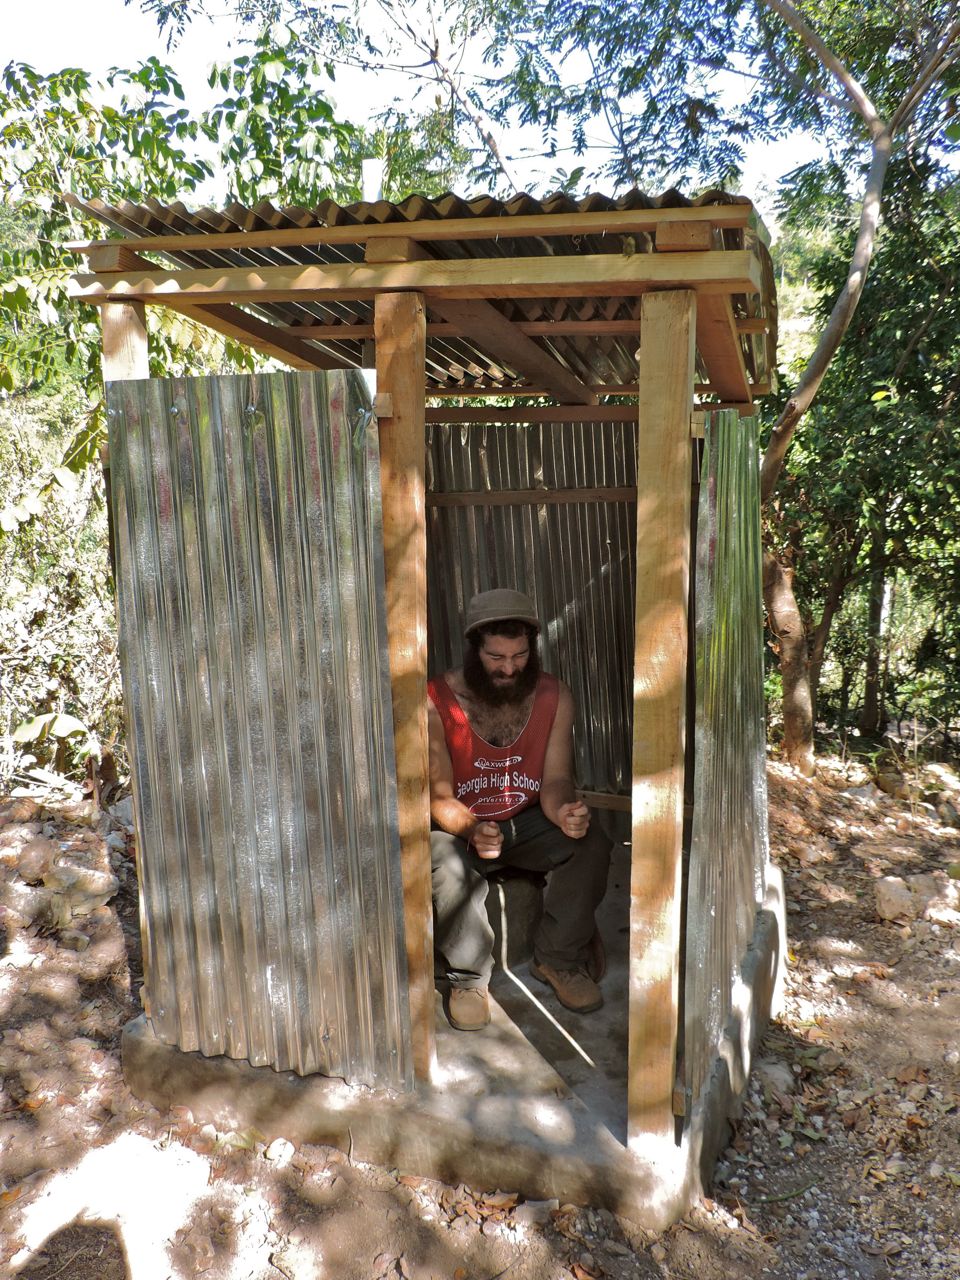
Step 18:
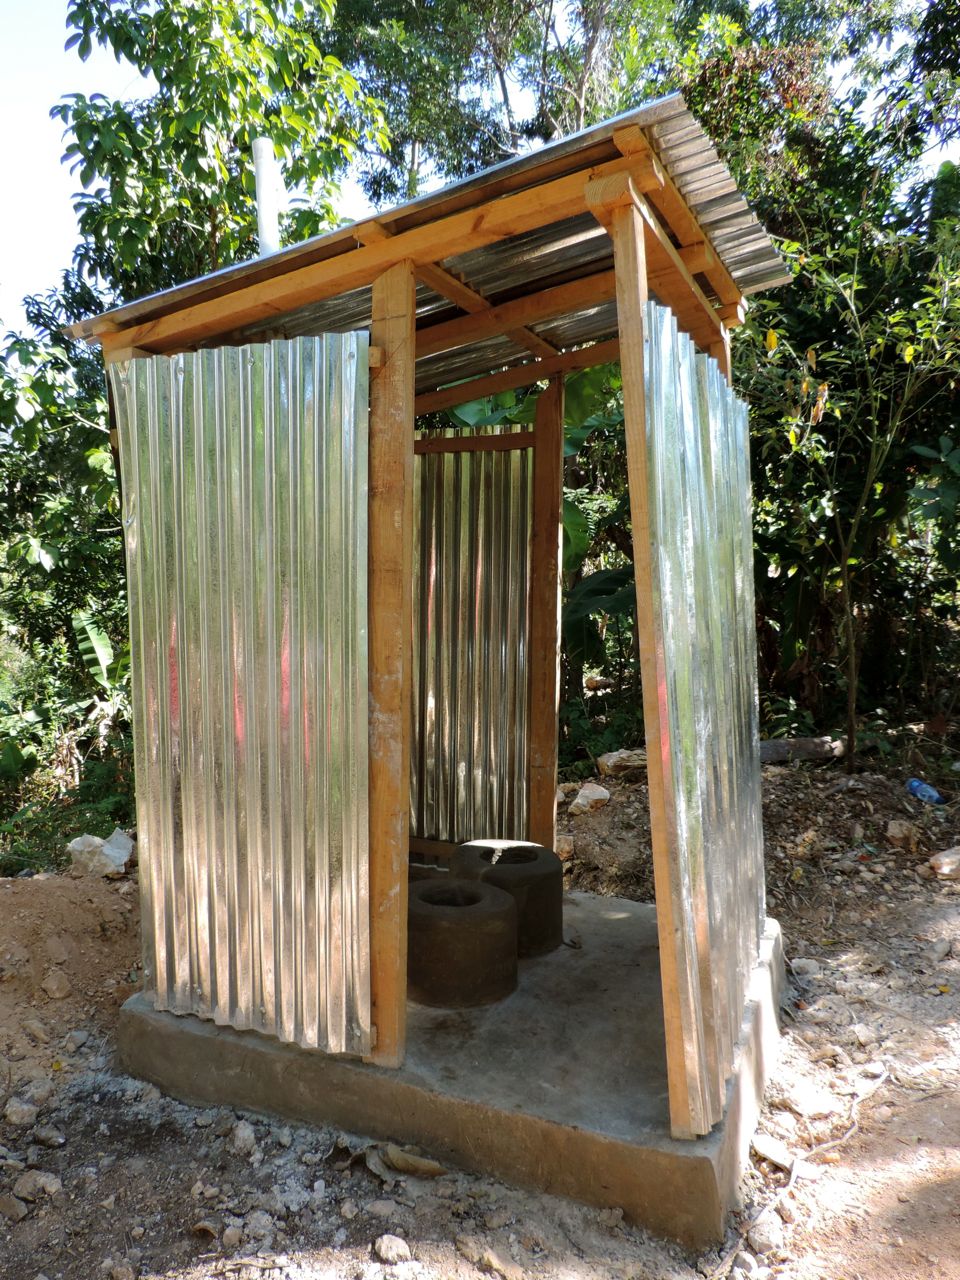
Attach the door and you are finished. (Don`t forget to allow your camera battery to die so that you don’t have a photo of the final product to show off.)
Step 19:
Congratulations! You have built a latrine in Haiti.
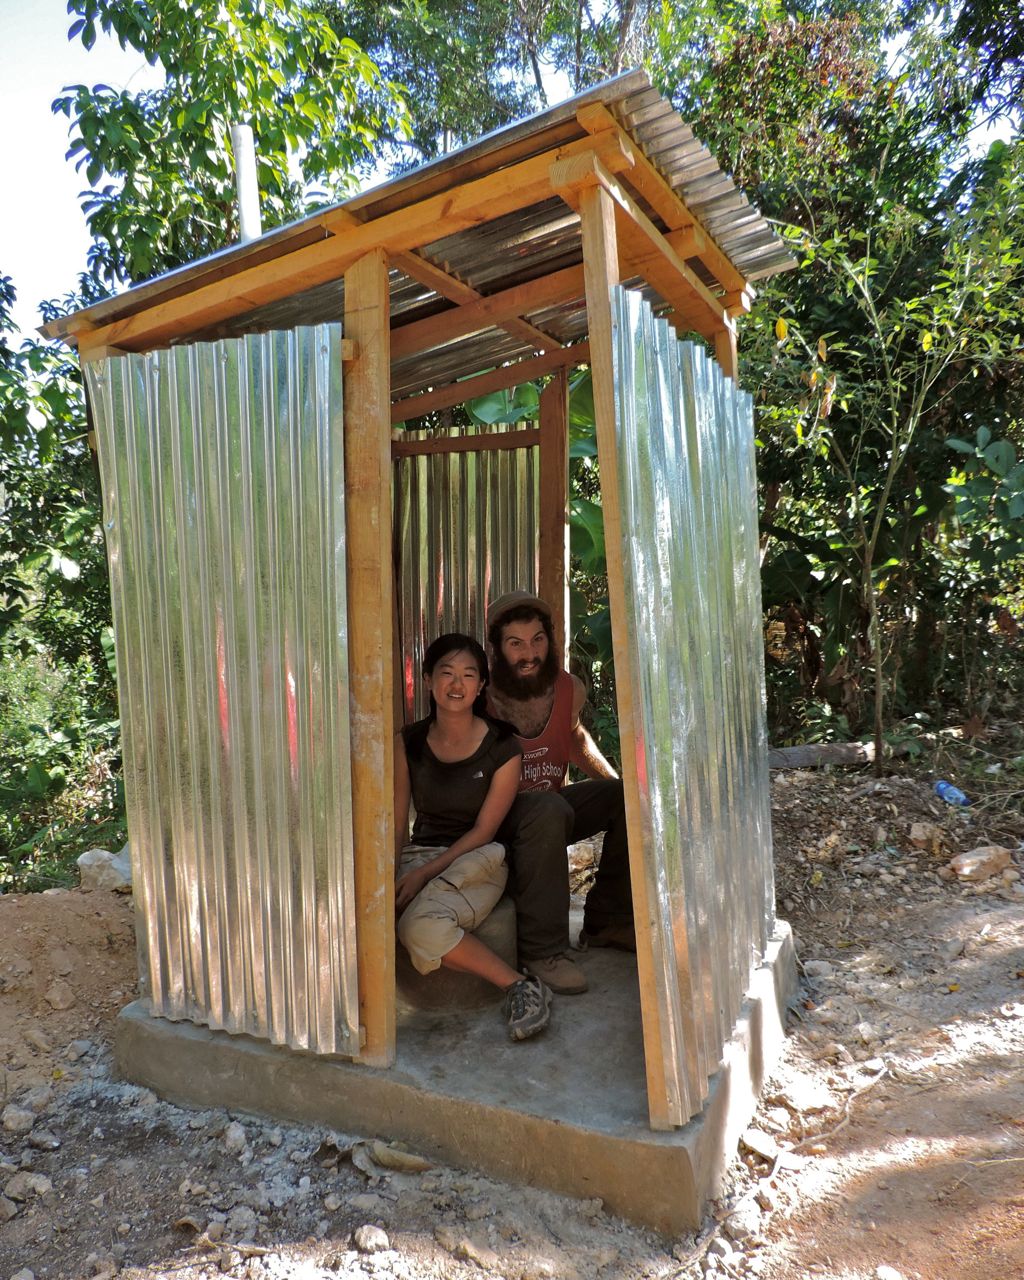
Step 20:
(Note: This is an unusual latrine design, even for us, even for Haiti. This will be used by two families so they built a structure with two doors and two holes.